
Contents
- Introduction
- Requirements
- Video Demonstration – Windows
- Instructions for Windows 10/11
- Video Demonstration – Ubuntu Desktop
- Instructions for Ubuntu 22.04 GUI
- Video Demonstration – Ubuntu Server
- Instructions for Ubuntu 22.04 CLI
- Boot Menu Options by Vendor
- Whats Next
Introduction
Utilizing Ventoy presents an exceptionally efficient and user-friendly solution for booting one or more ISO images from a single USB flash drive. This innovative tool eliminates the need for repeatedly formatting and creating new bootable USBs for different operating systems or software utilities. With Ventoy, users can simply copy various ISO files onto the flash drive, and its intelligent design automatically detects and lists these images in a boot menu upon startup. This streamlined approach not only optimizes USB utilization but also minimizes the hassle of managing multiple bootable drives. Ventoy’s capacity to seamlessly support numerous ISOs from a single source not only saves time but also offers a versatile and organized way to address diverse system recovery, installation, or diagnostic needs, making it an indispensable asset for both tech enthusiasts and IT professionals alike.
Requirements
- 1 USB flash drive 8GB or larger preferred (Micro Center branded drives are our favorite value. Even cheaper options available in-store at check-out)
- 1 or more ISO image files (How to Download a Windows 10 ISO Image / How to Download a Windows 11 ISO Image)
- User with local admin or root (sudo) privileges
Video Demonstration – Windows
Instructions for Windows 10/11
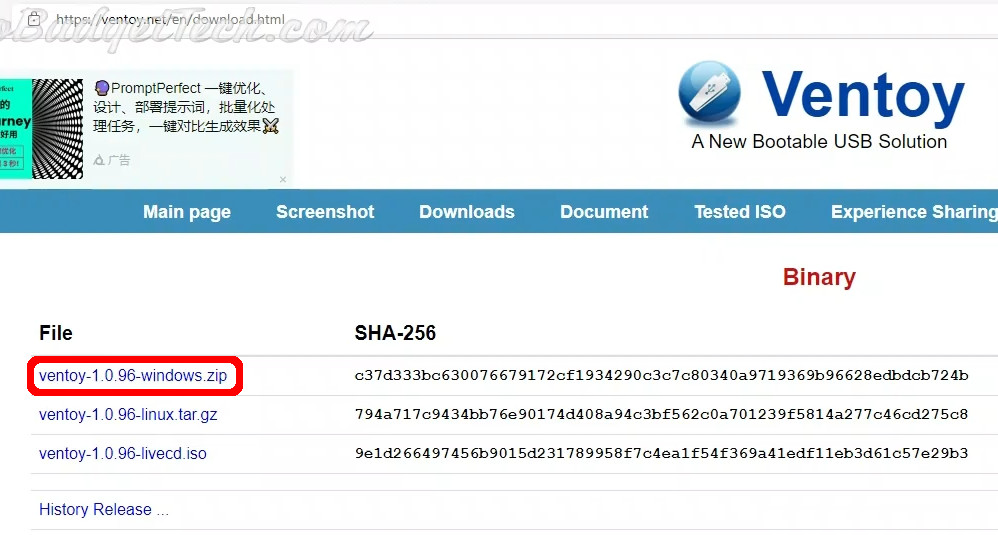
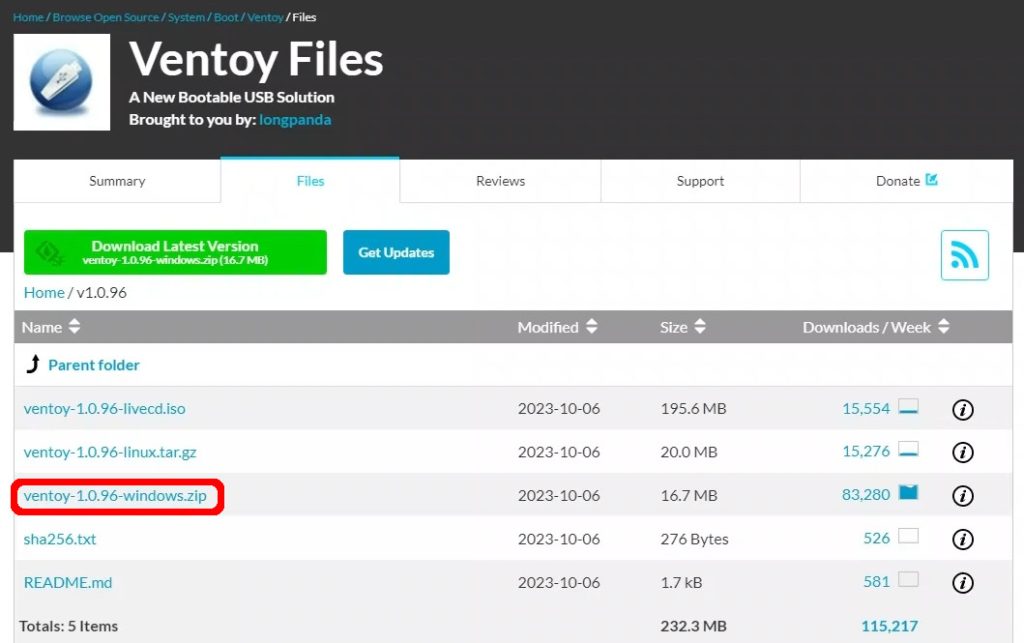
1. Open your favorite web browser and navigate to the official Ventoy website at ventoy.net and click on Downloads. Find the link that looks like ventoy-<version_number>-windows.zip (as of writing, the latest is ventoy-1.0.96-windows.zip.), click on it to open the download site (recently changed to sourceforge.net as of writing). Then click on the same named link to start the download.
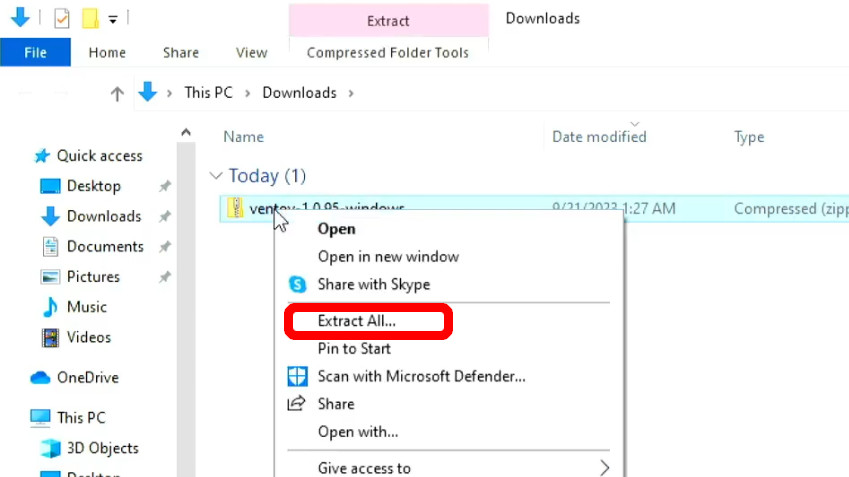
2. The .zip file should have downloaded and fairly quickly too because it is quite small. Open your downloads in the Windows File Explorer, find the ventoy zip file, right-click and select Extract All… menu item. Click on the Extract button.
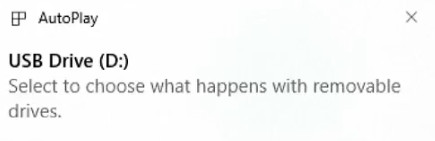
3. Put your USB flash drive into the computers USB port. Note: If your flash drive is USB 3.0 or higher, plug it into a port that is blue or has an SS symbol next to it (for SuperSpeed).

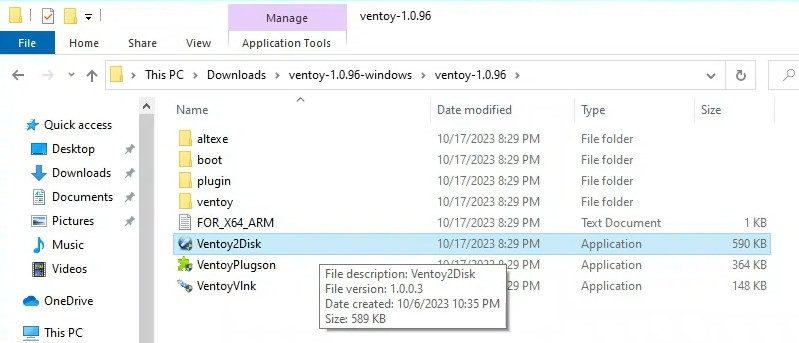
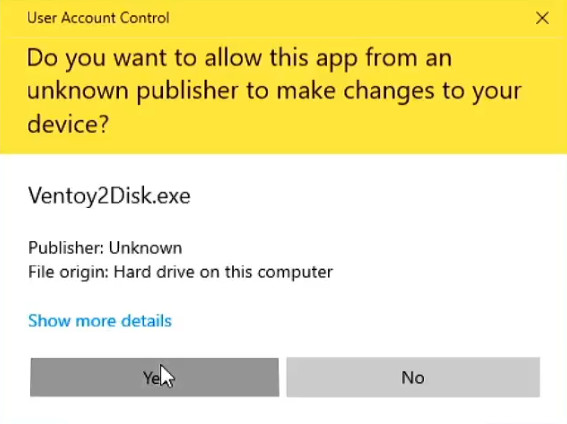
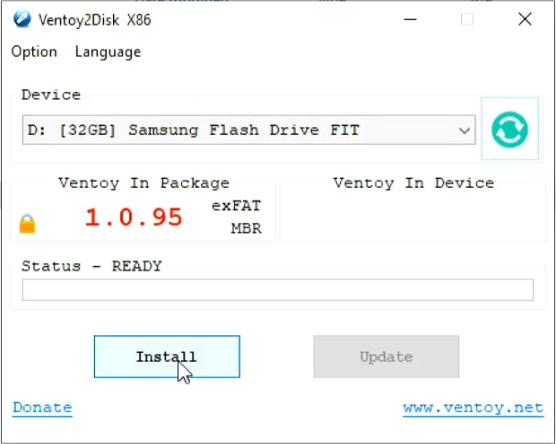
4. Open the new ventoy folder and look for Ventoy2Disk.exe, you may have to go into one more ventoy folder to find it. Double-click on Ventoy2Disk.exe to run it. You will have to grant permission to allow this app to make changes to your device. In the Device drop-down, verify that is the correct USB drive. (I like to only plug in one drive when doing this so I do not overwrite any of my other drives.)
WARNING: Before clicking on the Install button. Be aware that any files, filesystems, partitioning, or boot sectors on the disk will be overwritten and cannot be undone!
5. Once you are sure the drive has no important data, click on the Install button. Click Yes when the Warning dialogs pop up. There will be two for added safety.

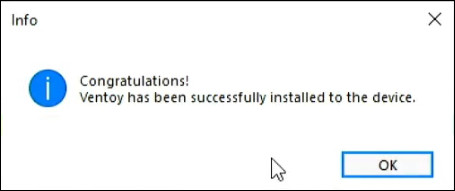
6. When finished you will get a Congratulations message, click on the OK button. Close Ventoy2Disk and go copy your ISO files to your new Ventoy drive.
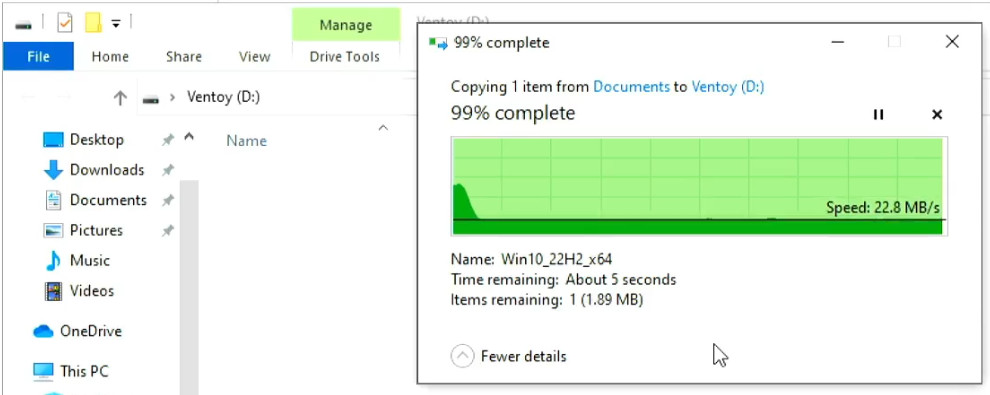
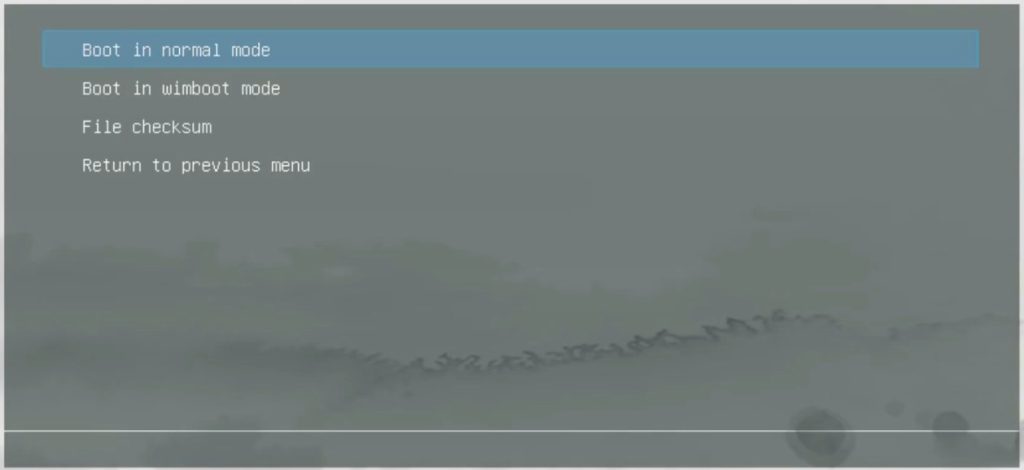
7. To boot your Ventoy USB drive, start the computer with the Ventoy USB inserted. Use your computer vendors hotkey assigned for boot options by repeatedly pressing and releasing until you get the menu desired. You may have to look this up on the vendor website if not listed below or not working as shown.

Next up: Instructions for Ubuntu 22.04 GUI